Wooden lure making.
Almost every lure design in a tackle shop started as a piece of wood somebody whittled at a kitchen table. The original crankbaits were carved wood with a bent metal lip, and they caught fish because their maker spent evenings adjusting ballast a fraction at a time until the thing swam properly.
You can do exactly that. The tools are a knife, a drill, some sandpaper and a bucket of water, and the payoff is a lure that swims the way you wanted rather than the way a factory decided. It is also, genuinely, a lot of failures before a good one - the first several will roll over, run sideways or refuse to dive.

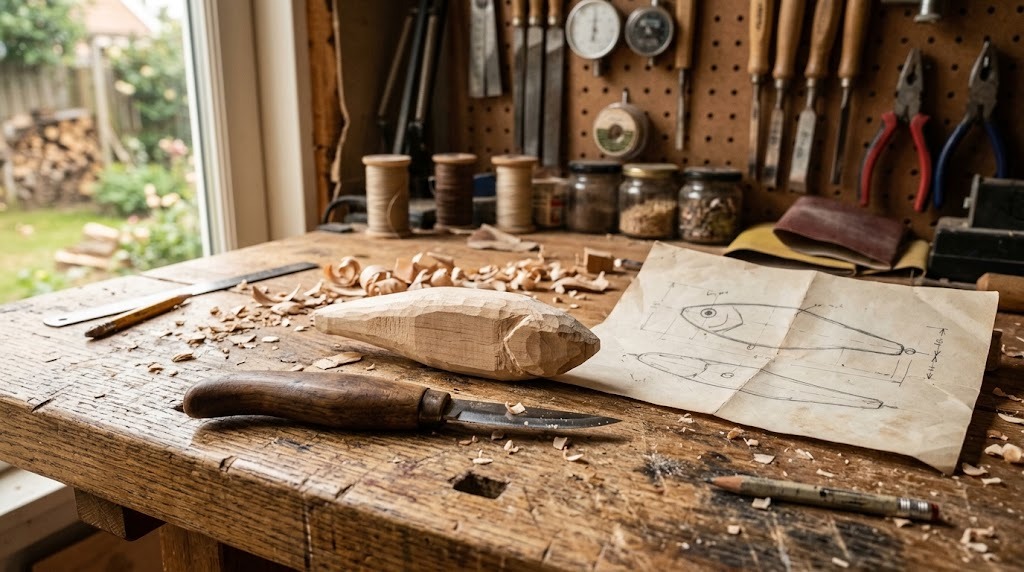
Carving the body
Balsa and basswood are the two starting woods. Balsa is light, lively and dents if you look at it hard, which is why the classic balsa crankbaits swim the way they do and why they need a tough finish. Basswood is heavier, tougher and far more forgiving to a beginner's knife. The body starts as a squared blank with a centre line drawn all the way round, a paper pattern traced on both faces, and the shape cut away with a knife and sanded. A through-wire running the length of the blank is set in before the halves close if the lure is built that way.
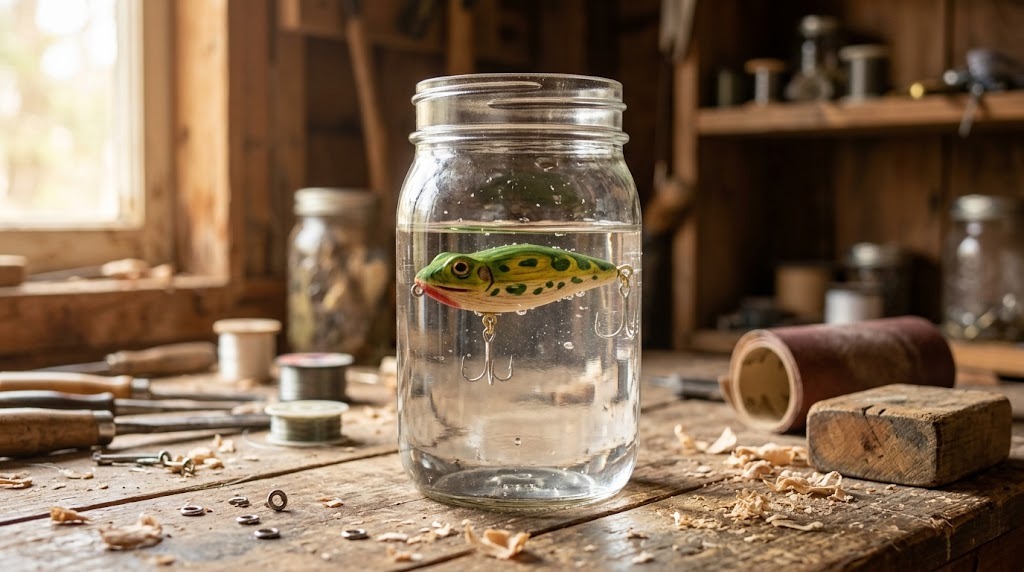
Ballast and balance
This is the part that decides whether the thing swims or rolls over. Weight is drilled into the belly and set with epoxy, and where it sits changes everything: further forward gives a tighter, faster wobble, further back a wider lazy roll, too high and the lure lies on its side. The test is a bucket or a clear jar of water - the lure should sit level and upright at rest, and a lure that is right in the jar is usually right in the lake. Adjust in small increments and test after every one, because the difference between a good action and none is often a fraction of a gram.
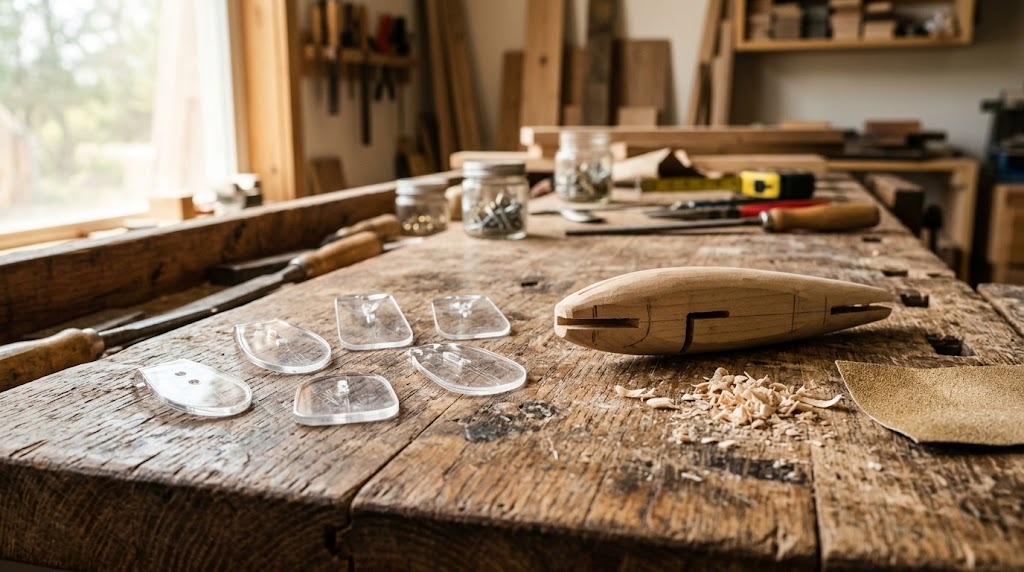
Lips and diving depth
The lip is a plate of polycarbonate or metal set into a slot in the nose, and its size and angle set the running depth and the tightness of the action. A long lip angled close to the body dives deep and wobbles tight; a short one angled steeply toward vertical stays shallow and rolls wide. The slot has to be cut on the centre line and the lip has to be dead square in it, because a lip that sits a degree off makes a lure that runs off to one side and no amount of tuning the line tie fully fixes it.
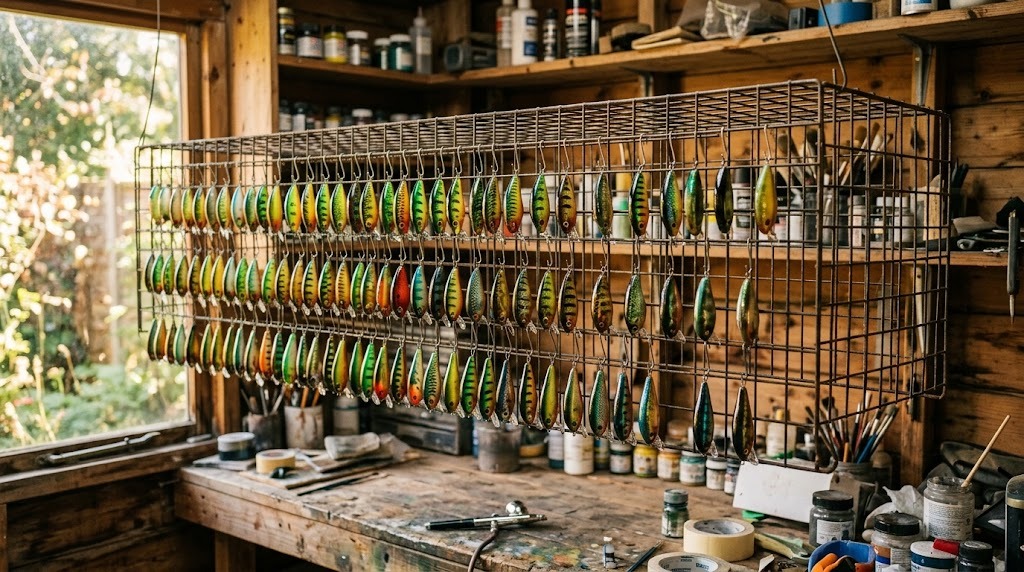
Painting and finishing
Sealer first - bare wood soaks up everything and swells the moment water gets in. Then primer, then colour, which on a hand-made lure is usually airbrushed in thin coats with scale netting held against the body for the pattern, or foil laid down under a translucent top coat for flash. Eyes go on last. The whole thing is then sealed in epoxy or a moisture-cured urethane, turned on a drying wheel so the finish does not sag while it sets. The finish is what makes a hand-made lure survive a season of teeth and rocks.
Hardware and strength
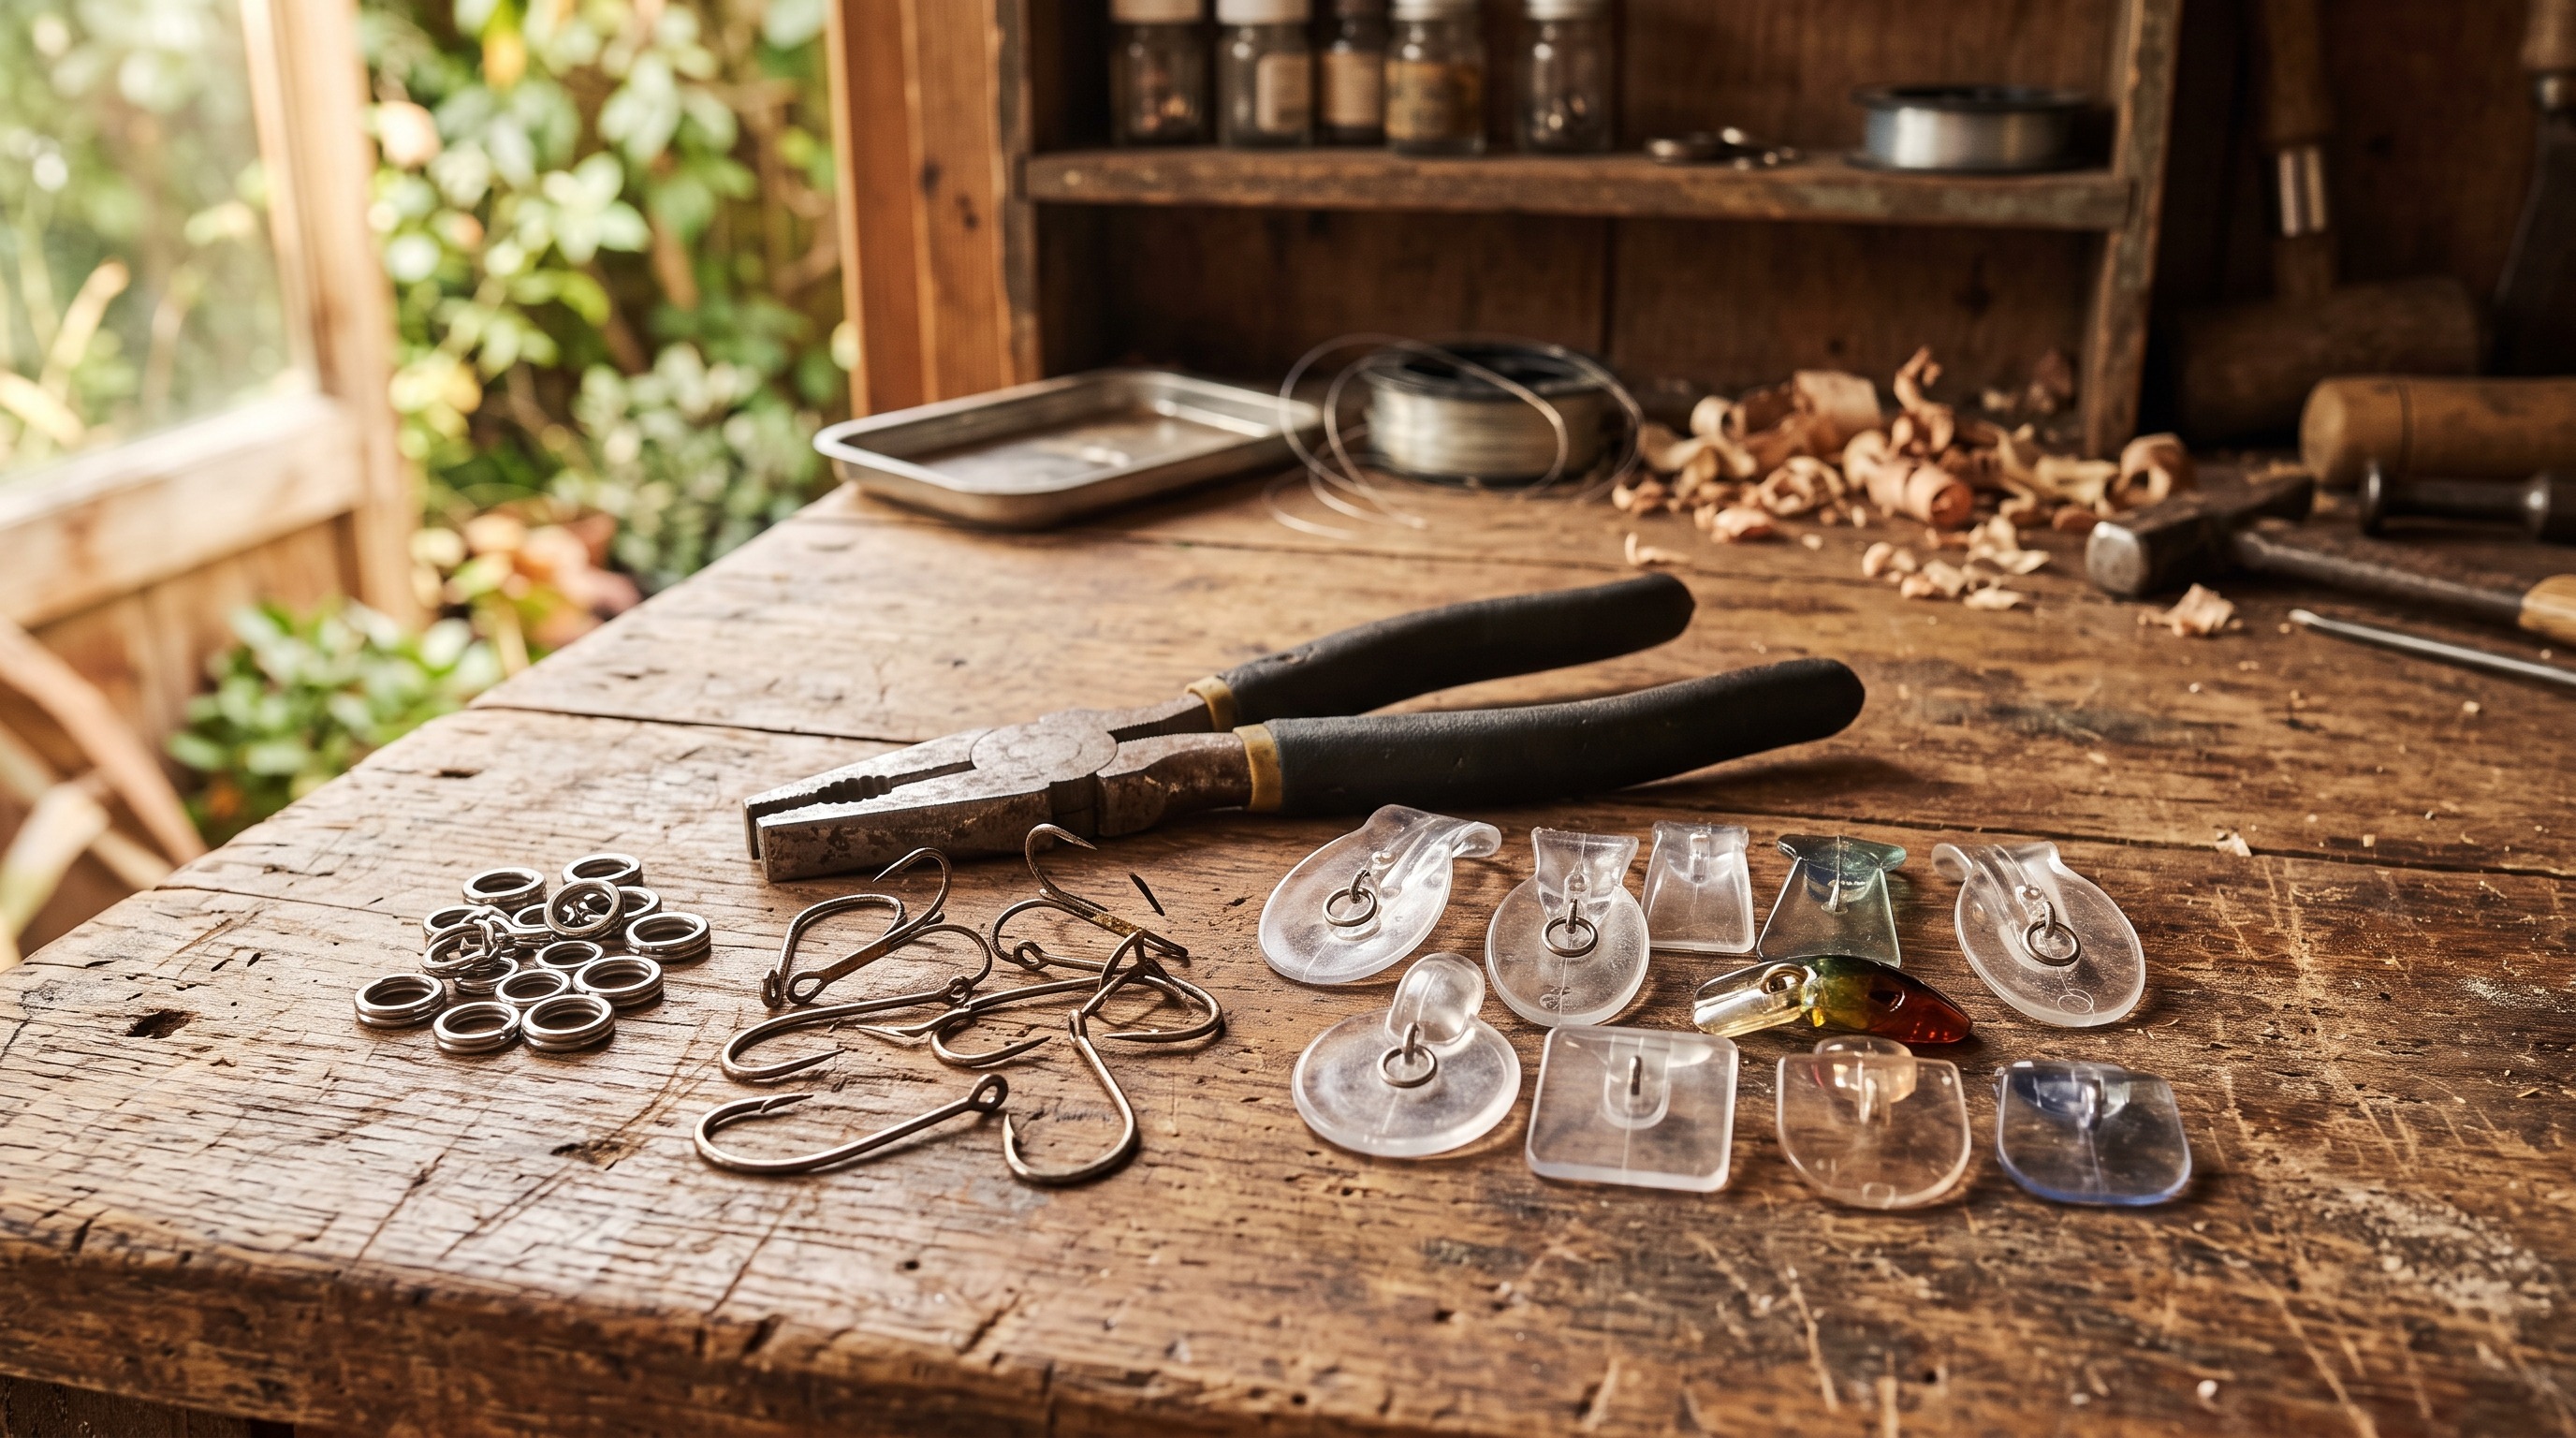
Split rings, hook hangers, screw eyes and line ties are the weak points of a home-made lure and the parts nobody checks until a fish is gone. Through-wire construction, where a single wire runs the length of the body and forms the line tie and both hook hangers, is the strong way of doing it and the one worth learning. Screw eyes into balsa will pull out under a decent fish. Whatever the build, every finished lure is worth a hard pull test on each attachment point before it ever gets tied to a line.

Painting bought jig heads
Powder-coating plain jig heads is the easy end of lure making: heat the head, dip it in powder paint, and bake it to cure. It transforms a box of dull heads into something worth fishing and takes minutes each. What this page does not cover is casting the heads yourself. Melting lead produces fumes and dust that are seriously hazardous, particularly to children and anyone pregnant, and doing it safely needs equipment and ventilation well beyond a kitchen. We would rather say that than write it up as a hobby project - buy the heads, paint the heads.
Testing the swim
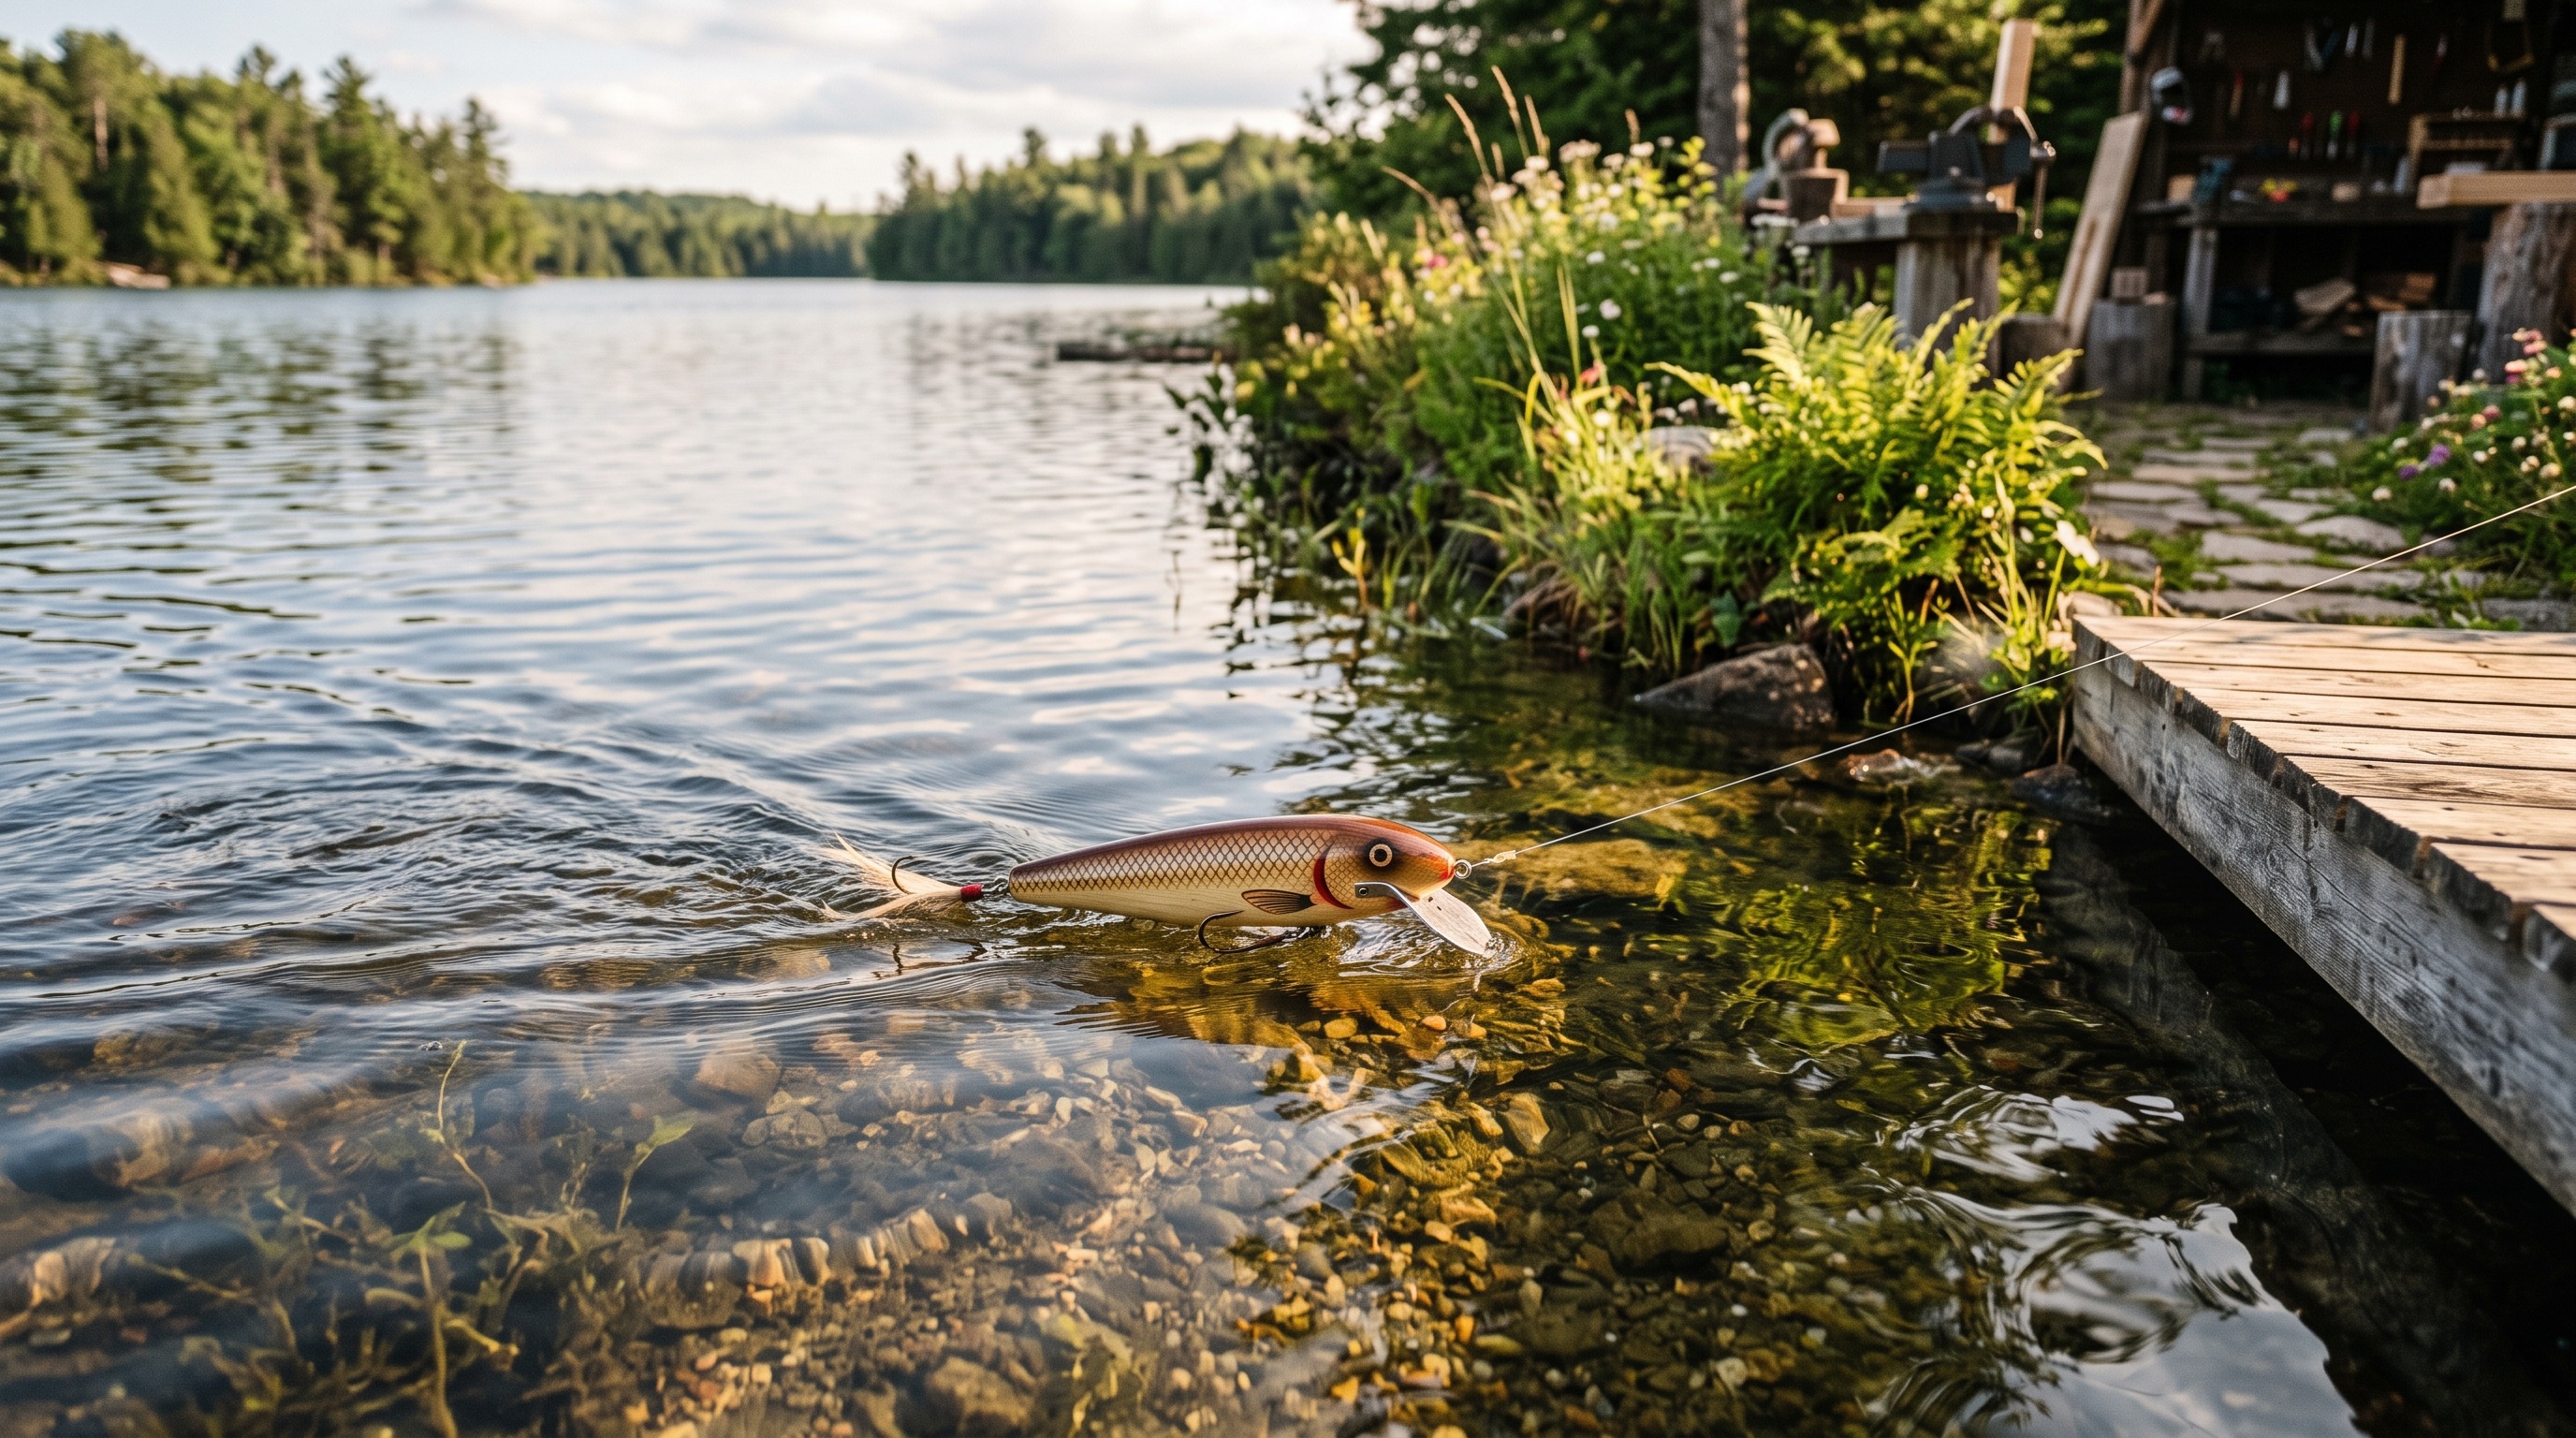
Every hand-made lure gets tested before it goes in the box, and the test is a short retrieve in clear shallow water where you can watch it. What you are looking for is a lure that tracks straight, holds the same depth, and returns to level when you pause. If it runs left, the line tie is bent a fraction right - and back. If the action dies at speed the ballast is too far back. Keeping notes on what you changed and what happened is the difference between a maker who improves and one who has a drawer full of near-misses.